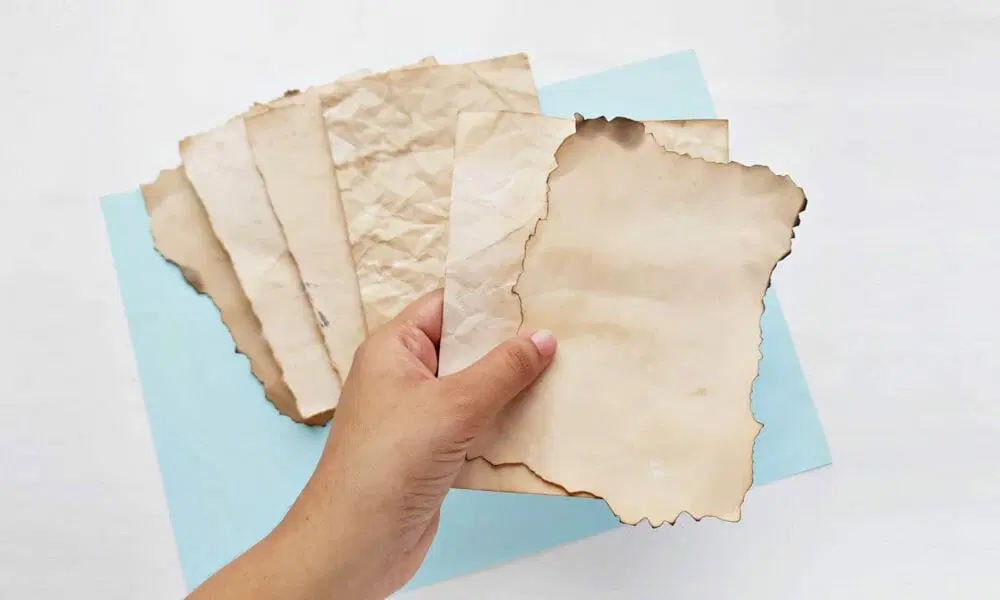
Aging paper is a fun and creative way to give a vintage or antique look to your documents, artwork, or crafts. Whether you are creating a historical document, a scrapbook page, or a personalized gift, aging paper can add character and depth to your project. Here are some steps to follow on how to age paper.
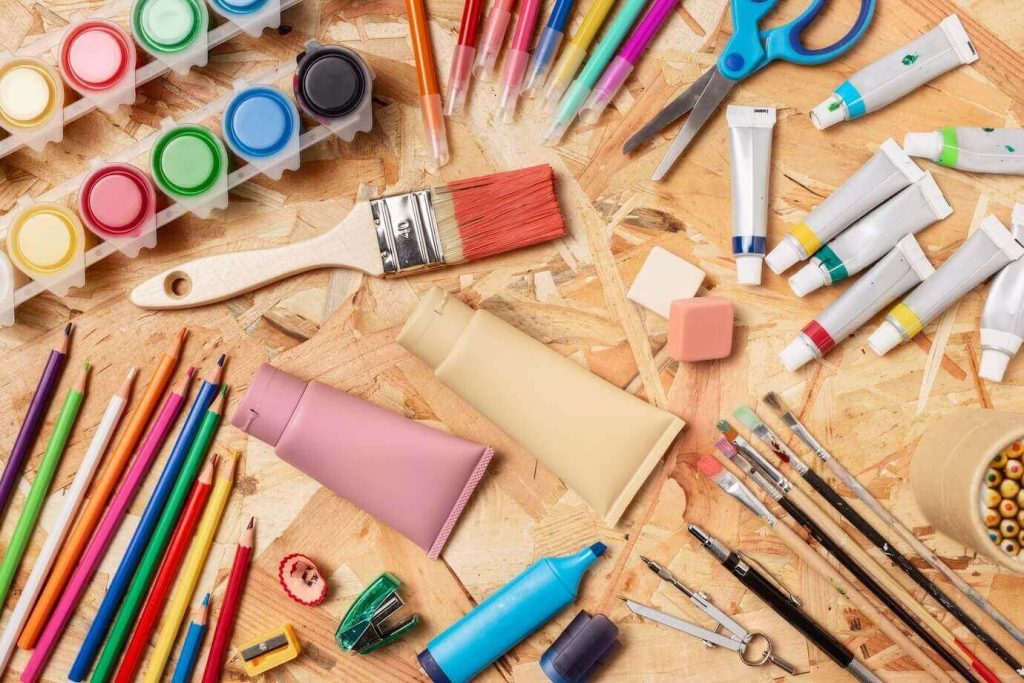
Materials needed:
- White paper or cardstock
- Tea bags or coffee grounds
- Distilled water
- Baking soda
- Oven or hair dryer
- Iron (optional)
Step 1: Prepare the paper
Choose the paper or cardstock that you want to age. You can use any type of paper, but thicker and heavier paper will hold up better to the aging process. Cut the paper to the desired size and shape.
Step 2: Brew the tea or coffee
Brew a strong cup of tea or coffee using distilled water. The distilled water will prevent any mineral deposits from affecting the color of the paper. You can use tea bags or coffee grounds, depending on the color you want to achieve. Black tea will give a warm brown tone, while coffee will produce a darker, more uneven effect.
Step 3: Apply the stain
Dip the paper into the tea or coffee, making sure to cover it completely. You can also use a brush or sponge to apply the stain if you want a more controlled effect. You can also sprinkle coffee grounds onto the paper for a speckled or textured look. Let the paper sit in the stain for a few minutes or until you achieve the desired color.
Step 4: Dry the paper
Once the paper is stained, you can either let it air dry or dry it in the oven or with a hair dryer. If you choose to dry it in the oven, set it to the lowest temperature and check the paper frequently to avoid burning it. If you use a hair dryer, hold it a few inches away from the paper and move it around to avoid overheating or curling.
Step 5: Add texture (optional)
If you want to add texture or age marks to the paper, you can crumple it up or tear the edges. You can also use a fork or toothpick to make small holes or scratches on the surface of the paper.
Step 6: Apply the baking soda
Mix a small amount of baking soda with water to create a paste. Use a brush or sponge to apply the paste to the paper, focusing on the edges and any areas where you want to create a more distressed look. The baking soda will react with the tea or coffee to create a mottled or aged effect.
Step 7: Iron the paper (optional)
If the paper has become warped or curled during the aging process, you can iron it on a low setting to flatten it out. Place the paper between two sheets of plain paper or a towel to avoid direct contact with the iron.
In conclusion, aging paper is a simple and inexpensive way to add a vintage or antique look to your projects. With a few basic materials and some creativity, you can create unique and personalized documents, artwork, or crafts that will stand the test of time.