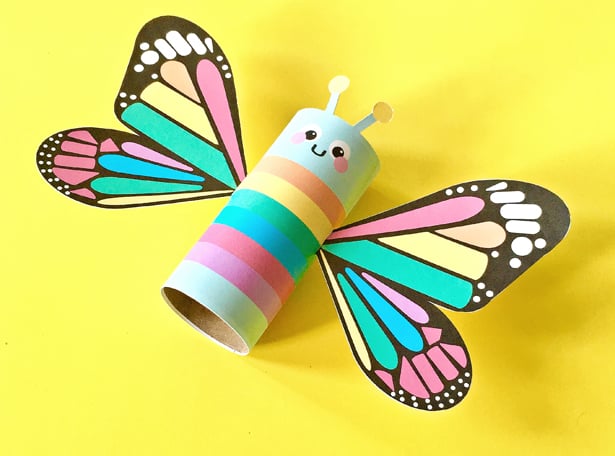
Butterflies are some of the most beautiful and fascinating creatures in the world, and creating a cardboard tube butterfly craft is a fun and creative way to explore these amazing insects. This craft is perfect for kids of all ages, and it’s easy to make using common household materials.
In this article, we’ll take a step-by-step approach to making a cardboard tube butterfly craft. We’ll cover everything from the materials you’ll need to the techniques you can use to make your butterfly as beautiful and unique as possible.
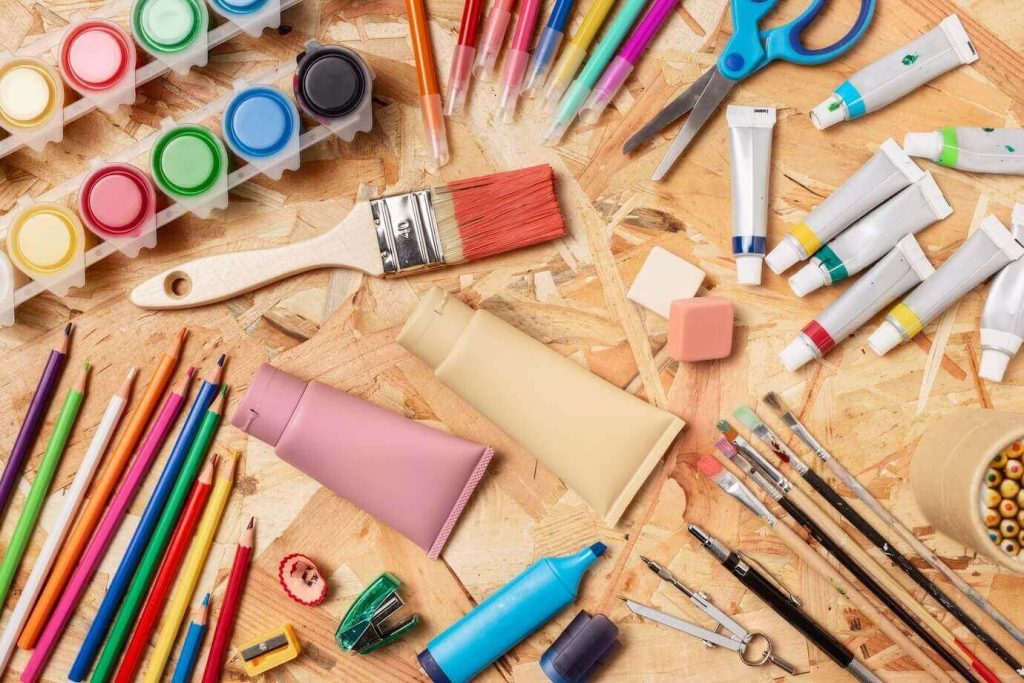
Materials Needed
- Cardboard tube (from a paper towel or toilet paper roll)
- Scissors
- Paint (in various colors)
- Paintbrushes
- Pipe cleaners
- Googly eyes
- Glue
- Black marker
Step-by-Step Instructions
- Flatten the cardboard tube: Start by flattening the cardboard tube so that it’s easier to cut and work with. Use your hands to gently press down on the tube until it becomes flat.
- Cut the tube: Using your scissors, cut the flattened cardboard tube into two pieces. Each piece will form one of the wings of your butterfly.
- Paint the wings: Using your paintbrushes and paint, decorate the wings of your butterfly in any way you like. You can use a single color, or you can create a pattern using multiple colors. Get creative and have fun!
- Add details: Once the paint has dried, use your black marker to add details to the wings of your butterfly. You can add lines, dots, or any other patterns you like.
- Attach the wings: Once the wings are complete, it’s time to attach them together to form the butterfly. Take one of the wings and fold it in half so that the two painted sides are facing each other. Use your glue to attach the two sides together.
- Add pipe cleaners: Cut two small pieces of pipe cleaner and twist them together in the middle. This will form the butterfly’s antennae. Use your glue to attach the antennae to the top of the butterfly’s head.
- Add googly eyes: Use your glue to attach the googly eyes to the butterfly’s head.
- Attach the wings to the body: Take the second wing and fold it in half just like the first one. Use your glue to attach the folded edge of the wing to the top of the butterfly’s body.
- Finish the butterfly: Once the glue has dried, your butterfly is complete! You can add any additional details you like, or you can leave it as it is.
Tips and Tricks
- Experiment with different paint colors and patterns to create unique butterflies.
- Use different types of pipe cleaners to create different effects.
- If you don’t have googly eyes, you can draw eyes onto the butterfly’s head using your black marker.
- For younger children, you can pre-cut the cardboard tubes and pipe cleaners to make the craft easier.
Conclusion
Creating a cardboard tube butterfly craft is a fun and creative way to explore the world of butterflies. This craft is perfect for kids of all ages, and it’s easy to make using common household materials. With a little imagination and creativity, you can make your butterfly as unique and beautiful as you like. So gather your materials, follow these step-by-step instructions, and have fun creating your own cardboard tube butterfly!