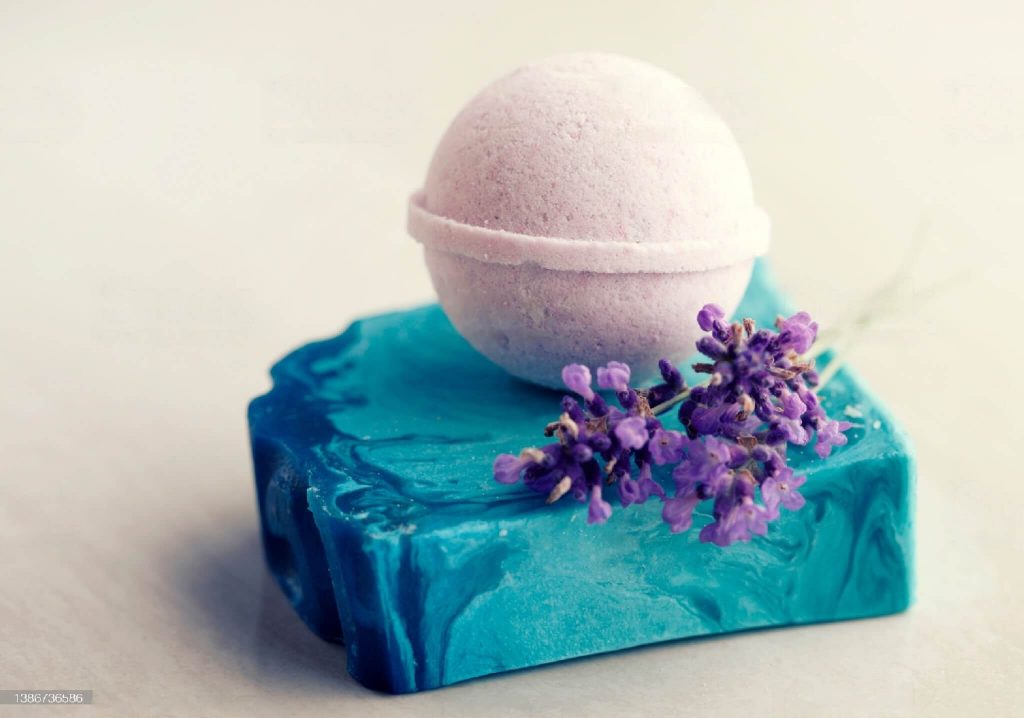
Bath bombs are a luxurious addition to any bath. They add fizz, fragrance, and moisturizing properties to your bathwater, leaving your skin feeling soft and silky. However, store-bought bath bombs can be expensive, and they often contain artificial ingredients that can be harsh on your skin. The solution? Make your own homemade bath bombs!
Making your own bath bombs is a fun and creative activity that can be enjoyed by people of all ages. With a few simple ingredients and some basic equipment, you can create your own unique bath bombs that are free from harsh chemicals and artificial additives.
In this comprehensive guide, we’ll show you how to make your own homemade bath bombs step-by-step. We’ll cover everything from the ingredients and equipment you’ll need, to the techniques and tips for making perfect bath bombs every time.
Ingredients for Homemade Bath Bombs
The key ingredients for making bath bombs are baking soda, citric acid, and a binder (usually cornstarch). You can also add other ingredients like Epsom salt, essential oils, and natural coloring agents to customize your bath bombs to your preferences. Here are the basic ingredients you’ll need to make homemade bath bombs:
- Baking soda
- Citric acid
- Cornstarch
- Epsom salt (optional)
- Essential oils (optional)
- Natural coloring agents (optional)
- Water or witch hazel
Equipment for Making Homemade Bath Bombs
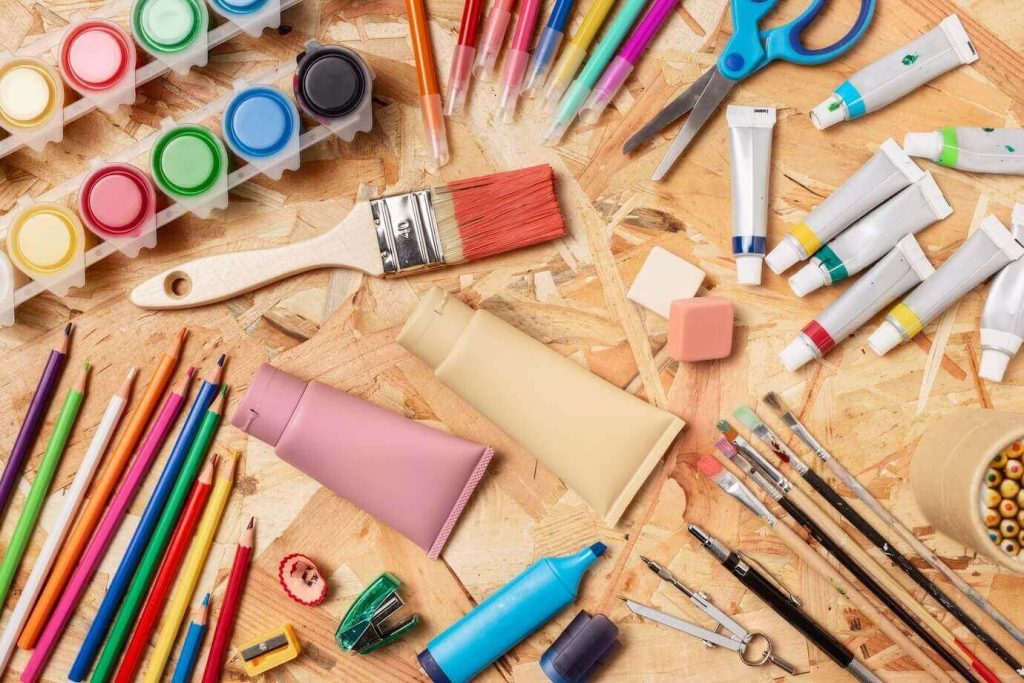
To make your own bath bombs, you’ll need a few pieces of equipment. Most of these items can be found in your kitchen or at your local craft store. Here’s what you’ll need:
- Mixing bowl
- Whisk
- Measuring cups and spoons
- Spray bottle
- Bath bomb molds (or you can use muffin tins or ice cube trays)
Instructions for Making Homemade Bath Bombs
Now that you have your ingredients and equipment, it’s time to make your bath bombs! Follow these step-by-step instructions to create your perfect bath bomb:
- Mix the dry ingredients. In a mixing bowl, whisk together 1 cup of baking soda, 1/2 cup of citric acid, 1/2 cup of cornstarch, and 1/4 cup of Epsom salt (optional).
- Mix the wet ingredients. In a spray bottle, combine 1 tablespoon of water or witch hazel with 10-15 drops of essential oils (optional) and natural coloring agents (optional).
- Combine the wet and dry ingredients. Slowly spray the wet ingredients into the dry mixture, whisking continuously. The mixture should start to clump together when pressed between your fingers.
- Pack the mixture into molds. Using your hands, pack the mixture firmly into your bath bomb molds (or muffin tins or ice cube trays).
- Let the bath bombs dry. Allow the bath bombs to dry for 24-48 hours before removing them from the molds.
- Store the bath bombs. Once your bath bombs are dry, store them in an airtight container until you’re ready to use them.
Tips for Making Perfect Homemade Bath Bombs
- Use high-quality ingredients. The quality of your ingredients will affect the quality of your bath bombs, so invest in the best ingredients you can afford.
- Mix the wet ingredients slowly. If you add too much liquid too quickly, your mixture will start to fizz and won’t hold its shape.
- Pack the mixture firmly. If you don’t pack the mixture into the molds tightly enough, your bath bombs may crumble or fall apart when you try to remove them.
- Let the bath bombs dry completely. If your bath bombs aren’t completely dry before you remove them from the molds, they may break apart or crumble.
- Experiment with different fragrances and colors. One of the best things about making your own bath bombs is that you can customize them to your preferences. Try different essential oils and natural coloring agents to create unique bath bombs that you love.
Conclusion
Making your own homemade bath bombs is a fun and easy activity that can save you money while providing a luxurious spa-like experience in the comfort of your own home. With just a few simple ingredients and some basic equipment, you can create your own unique bath bombs that are free from harsh chemicals and artificial additives. Follow the step-by-step instructions in this comprehensive guide, and you’ll be on your way to making perfect bath bombs in no time.


